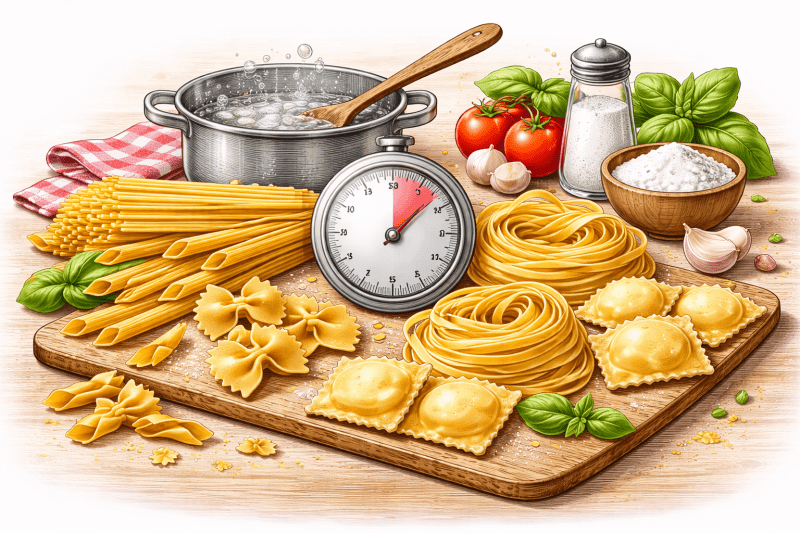
How to Make Pasta Without a Pasta Maker
Making fresh pasta without a machine is less about compromise and more about control. You’re working directly with the dough, feeling how it changes under your hands, adjusting as you go. It’s slower than using pasta makers, but it’s also simpler than most people expect—and often more satisfying.
If you’ve been looking at pasta tools or considering investing in pasta cutters, this guide will show you how to get started with what you already have in your kitchen.
What You Actually Need (And What You Don’t)
One of the biggest misconceptions is that fresh pasta requires specialist equipment. In reality, you can make excellent pasta with just a few basics:
- A clean work surface
- A rolling pin (or a wine bottle)
- A knife or simple pasta cutters
- A fork
That’s enough to produce a wide range of shapes and styles. Pasta makers speed things up and improve consistency, but they’re not essential.
Ingredients: Keep It Simple
The classic egg pasta dough uses just three ingredients:
- 200g “00” flour (or plain flour)
- 2 large eggs
- A pinch of salt
That’s your foundation. No oil, no complicated additions.
If you want a slightly firmer texture for shaping, you can mix in a small amount of semolina. But for most home cooks, sticking with a basic dough makes the process easier to manage.
Step 1: Bringing the Dough Together
Start by placing the flour directly onto your work surface and forming a well in the centre. Crack the eggs into the middle and add your salt.
Use a fork to whisk the eggs, gradually pulling in flour from the edges. Take your time here—rushing is what causes mess.
As the mixture thickens, switch to your hands and bring everything together into a rough dough. It may feel sticky or uneven at first. That’s expected.
Step 2: Kneading Until It Feels Right
Kneading is where the dough develops structure.
Press the dough forward with the heel of your hand, fold it back, rotate slightly, and repeat. After a few minutes, it will start to smooth out. After 8–10 minutes, it should feel firm, elastic, and no longer sticky.
If it’s too dry, add a few drops of water. If it’s too sticky, dust lightly with flour.
Once ready, wrap the dough in cling film or cover it with a bowl and let it rest for at least 30 minutes. This step matters—it relaxes the gluten and makes rolling much easier.
Step 3: Rolling Without Pasta Makers
Divide the dough into smaller pieces to keep things manageable.
Flatten one piece slightly with your hands, then begin rolling it out with a rolling pin. Work from the centre outward, turning the dough regularly to keep it even.
You’re aiming for a thin sheet—thin enough that you can just about see your hand through it when lifted.
Without pasta makers, consistency comes down to patience. Don’t rush the rolling. If the dough starts to spring back, let it rest for a few minutes before continuing.
Step 4: Cutting Your Pasta
Once your sheet is rolled, lightly dust it with flour and fold it loosely.
Using a sharp knife or pasta cutters, slice into your desired shape:
- Thin strips for tagliatelle
- Wider cuts for pappardelle
- Rough squares for rustic shapes
Unfold the pieces and toss them lightly in flour to prevent sticking.
This is where simple pasta cutters can make things quicker, but a knife works perfectly well for most styles.
Step 5: Cooking Fresh Pasta
Fresh pasta cooks much faster than dried pasta.
Bring a large pot of salted water to a boil, then add your pasta. Most shapes will cook in 2–4 minutes.
You’ll know it’s ready when it floats and has a tender but slightly firm bite.
Avoid overcooking—fresh pasta can go from perfect to soft very quickly.
Common Mistakes to Avoid
Even without pasta makers or advanced pasta tools, most issues come down to a few common errors:
Rolling too thick
Thick pasta can feel heavy and doughy. Aim thinner than you think.
Skipping the resting time
Resting isn’t optional. It makes the dough workable and easier to roll.
Using too much flour while rolling
A light dusting is enough. Too much flour will dry the dough out.
Overworking the dough after resting
Once it’s rested, handle it gently. Excess handling can tighten it again.
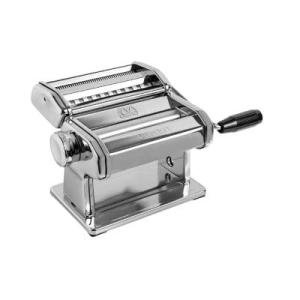
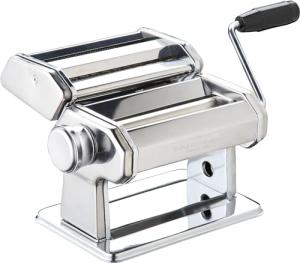
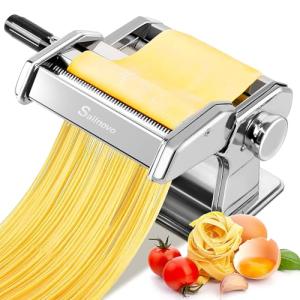
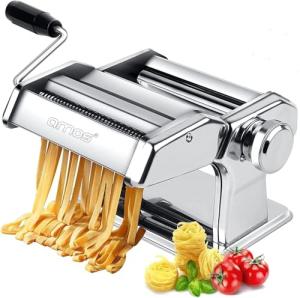
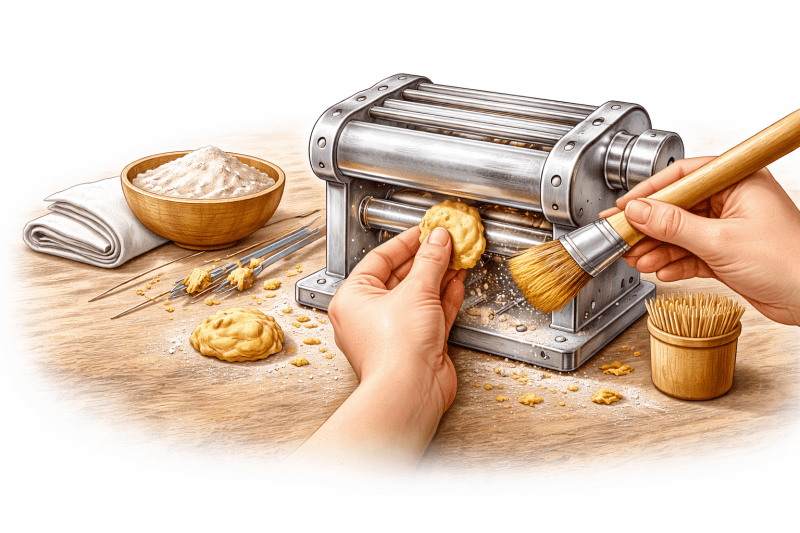
When to Consider Pasta Makers and Pasta Tools
Once you’ve made pasta by hand a few times, you’ll have a better sense of whether you want to invest in pasta makers or additional pasta tools.
A machine helps with:
- Achieving consistent thickness
- Speeding up the rolling process
- Producing uniform cuts
Pasta cutters, on the other hand, can simplify shaping and give cleaner results, especially for more detailed styles.
But the key point is this—you don’t need any of them to get started.
Final Thoughts
Making pasta without a machine strips the process back to its essentials. It’s tactile, slightly messy, and far more approachable than it first appears.
You don’t need a collection of pasta tools or expensive pasta makers to produce something good. A rolling pin, a knife, and a bit of patience will take you a long way.
Once you’ve done it a couple of times, the process becomes instinctive. And when you do eventually move on to pasta cutters or machines, you’ll understand exactly what they’re improving—and what they’re replacing.